Imperva Web Application Firewall Via impervacloudwaf [API] CEF
Overview
A connector is used to establish communication between the SNYPR application and a datasource. Following a successful deployment, the connector makes data from a datasource available to query and view in the SNYPR application.
Note: This beta connector guide is created by experienced users of the SNYPR platform and is currently going through verification processes within Securonix. This connector is made available to early adopters for the purposes of providing guidance and integration support prior to the release of official documentation.
The following properties are specific to the ImpervaWeb Application Firewall Via impervacloudwaf [API] CEF connector:
-
Collection method: impervacloudwaf [API]
-
Format: CEF
-
Functionality: Web Application Firewall
- Parser: SCNX_IMPERV_IMPERVAWEBAPPLICATIONFIREWALL_WAF_IMP_CEF_COMM
-
Vendor version: -
-
Supported versions: May2021_6.4_R1
Prerequisites
Before you connect Imperva Web Application Firewall Via impervacloudwaf [API] CEF, review the following configurations (if applicable):
For accounts with sub accounts:
Logs for sub accounts can be activated from both the parent account and the sub accounts, as follows:
Accounts Log Levels page
In the parent account: Activate logs for sub accounts. Logs are collected for all sites in the selected sub accounts and retrieved according to the method configured in the Logs Setup page in the parent account.
Sites Log Levels page
In a sub account: Activate logs for any sites in the sub account. Logs are collected for all sites in the sub account and retrieved according to the method configured in the Logs Setup page in the sub account.
References
Imperva Documentation Portal. https://docs.imperva.com/en-US/bundle/cloud-application-security/page/settings/log-integration.htm#Enable. Accessed 2 May 2023.
Configure the connection on device
Complete the following steps to configure the datasource:
Gather Setup Credentials
-
Sign in to Imperva.
-
Navigate to Account > Account Management from the top menu bar, then from the sidebar SIEM Logs Setup > Logs Setup.
-
Select Imperva API.

-
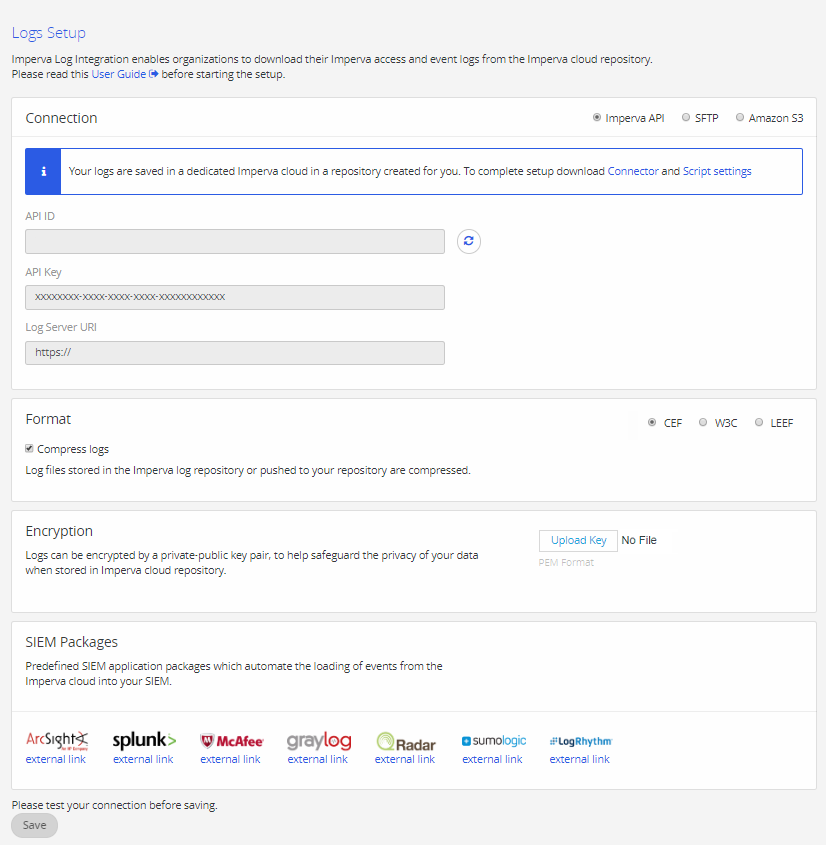
Copy the API Key before exiting the window under Connection.
Important: You will need it later. If you forget to copy the key, you can come back to this window later and click
 Generate API Key to create a new key.
 -
The Log Server URL field specifies the URL of your Imperva log repository in the Imperva cloud. Use this location to download the generated logs.
Note: This is required while configuring this connector on SNYPR.
-
Select the CEF (default) format for the log files.
-
Uncheck the Compressed Logs checkbox to keep the logs uncompressed. Log files are compressed by default.
-
Click Save.
-
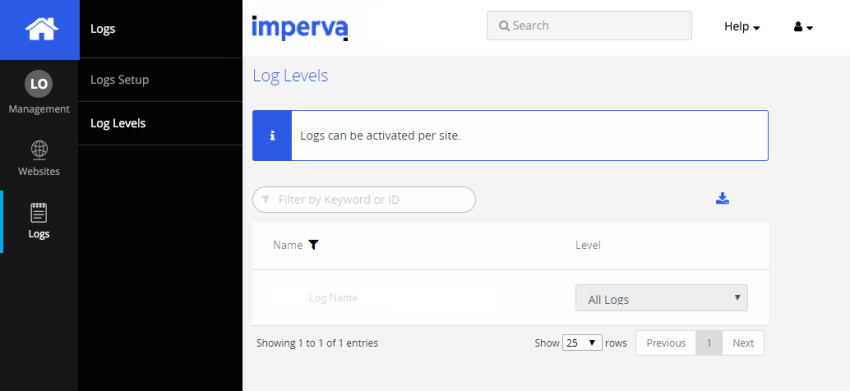
Select Log Levels from the sidebar. The following window displays:

-
Select a log level for each site to enable logging or leave it disabled. Selecting All Logsis recommended.
There are two levels of logs:
Security Logs: Includes the Imperva security events log.
All Logs: Comprises a comprehensive log of every request and response (access logs), as well as the security events log.


Configure the connection in SNYPR
Complete the following steps to configure Imperva Web Application Firewall Via impervacloudwaf [API] CEF in the SNYPR application:
Step 1. Resource group information
-
In SNYPR, navigate to Menu > Add Data > Activity.
- Click Add Data > Add Data for Supported Device Type to setup the ingestion process.
-
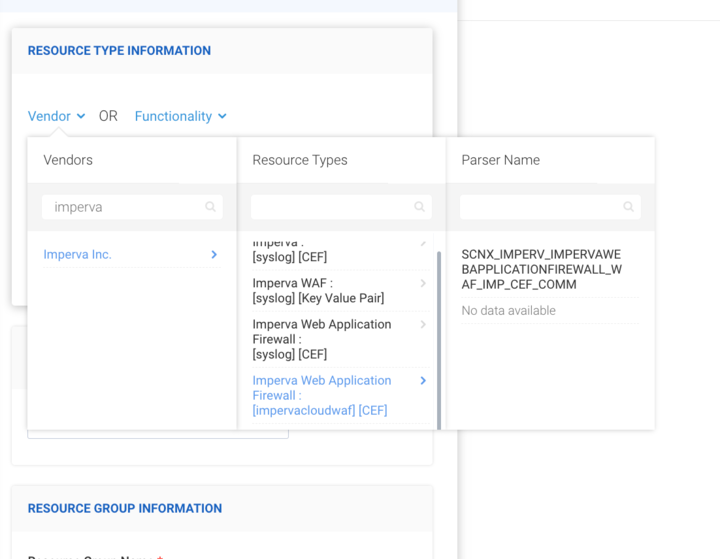
Click Vendor in the Resource Type Information section and select the following information:

- Vendors: Imperva Inc.
- Resource Types: Imperva Web Application Firewall
- Collection Method: impervacloudwaf
-
Select an ingester from the list.
-
In the Resource Group Information section complete the following information:
-
Resource Group Name: Imperva Web Application Firewall
-
Specify timezone for activity logs: Select a time zone from the list.
-
-
In the Connection Details section and select the following information:

- Base URL
- API ID
- API Key
-
Click Get Preview in the upper right corner of the page to preview the ingested data from the datasource.
- Click Save & Next.

Step 2. Parser management
Click Save & Next.
Step 3. Identity attribution
-
Click Add Condition > Add New Correlation Rule to add a correlation rule.
-
In the Correlation Rule section, provide a descriptive name for the correlation rule.
Note: For more information on Identity Attribution, refer to the Unified Defense 6.4 Data Integration Guide.
-
In the Correlate events to user using rule section, specify a value for each column in the table.
-
Click Save in the lower-right corner of the page to save the Correlate events to user using rule table.
-
Click Save & Next in the upper-right corner of the page.
Step 4. Detect policy violations
Click Save & Next.
Step 5. Summary
-
In the Job Scheduling Information section, select Do you want to run job Once? to run the import job on a single occurrence.
-
Click Save & Run.
Verifying the job
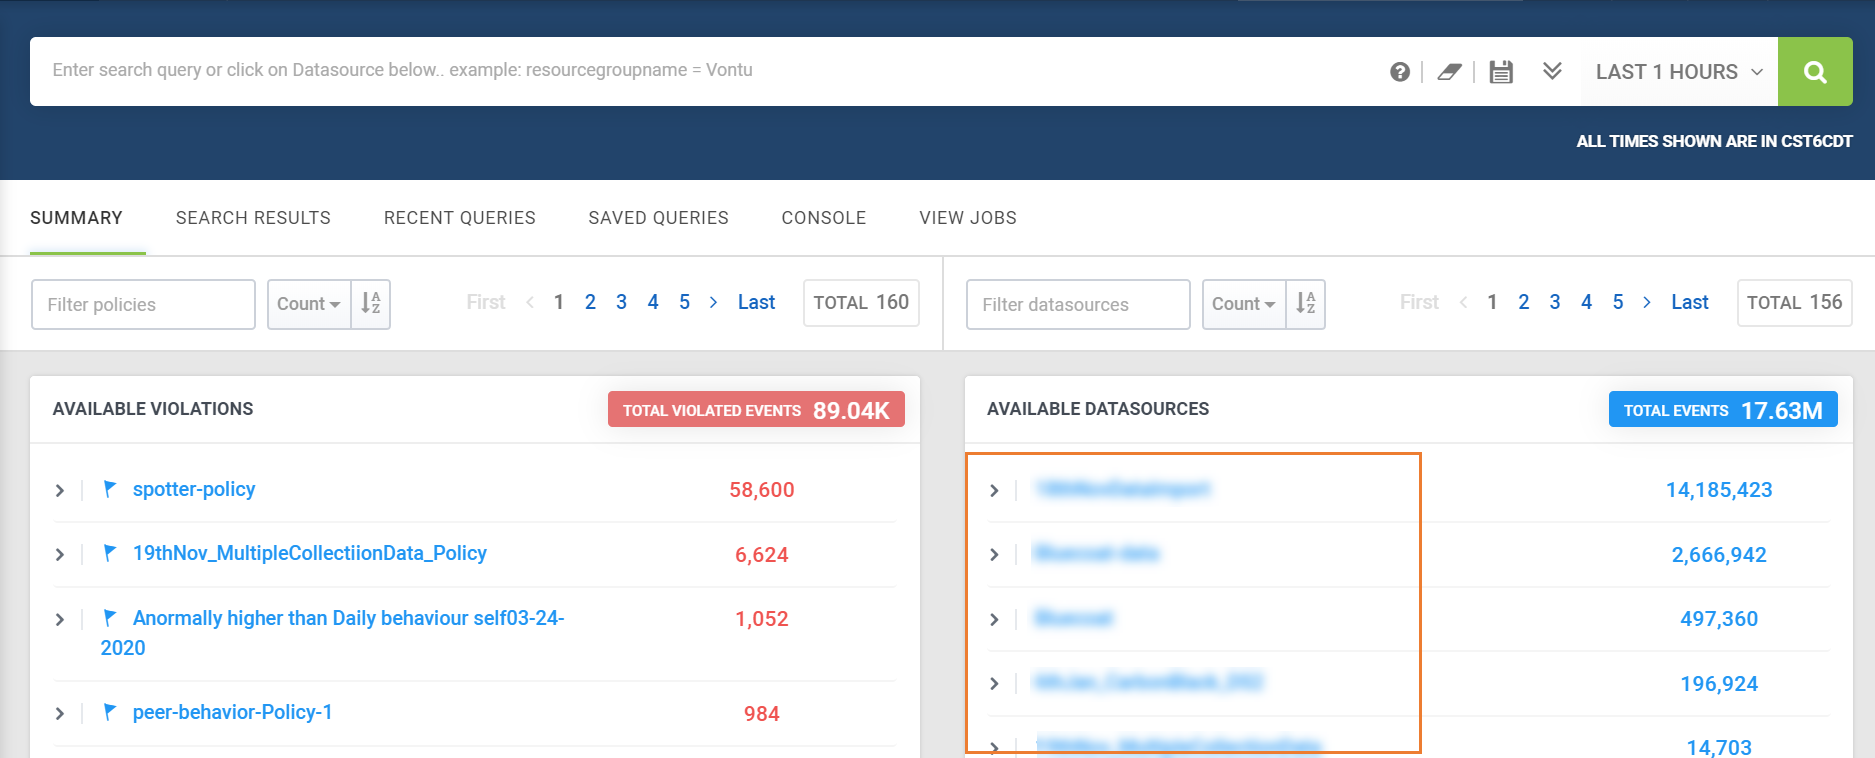
Following a successful import, the security log data for the datasource is accessible in the Available Datasources section of Spotter. To access the imported security log data, navigate to Menu > Security Center > Spotter.