Darktrace Applications
Overview
Note: This beta connector guide is created by experienced users of the SNYPR platform and is currently going through verification processes within Securonix. This connector is made available to early adopters for the purposes of providing guidance and integration support prior to the release of official documentation.
This document describe how to integrate the Darktrace application. with SNYPR.
The following properties are specific to the connector:
-
Collection method: Syslog
-
Format: LEEF
-
Functionality: IDS / IPS / UTM / Threat Detection
-
Parser: SCNX_DARKTR_DARKTRACE_ITD_SYS_LEE
-
Vendor version: -
Configure the connection on device
Complete the following steps to configure the Darktrace applications with SNYPR:
-
Log in to the Darktrace interface.
-
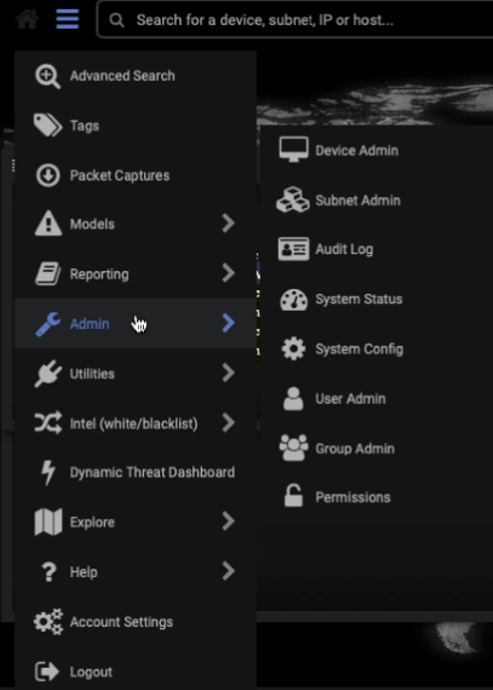
Expand the top left menu and select Admin to display Admin options.
-
Click System Config.
-
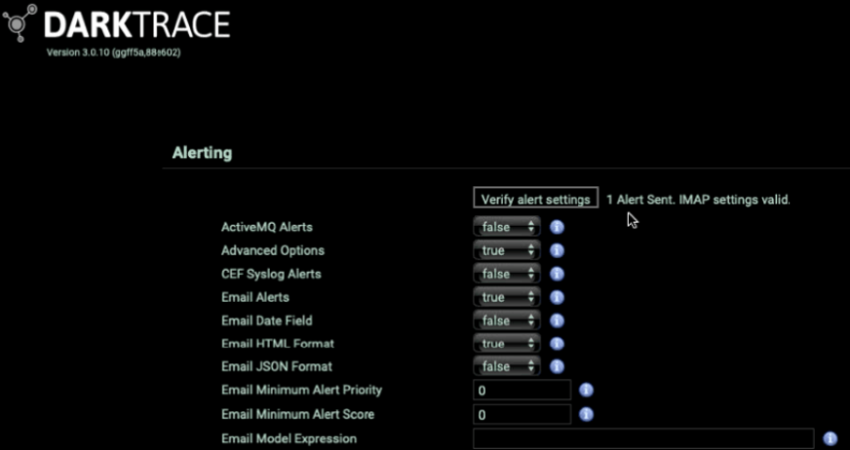
Click the Verify Alert Settings button in the Alerting section.
-
Set the JSON Syslog Alerts setting to True.
-
Set the syslog server to the IP address of the Remote Ingester Node (RIN).
-
Set the syslog server port to 514.
-
Set the LEEF Syslog TCP Alerts setting to True.
-
Set the Legacy JSON Alert Format setting to False.

Verify the Configuration
You can send a test alert from Darktrace to SNYPR to verify the integration.
To send a test alert:
-
Return to the Darktrace user interface.
-
Expand the top left menu and select Admin to display Admin options.
-
Click System Config.
-
Click the Verify Alert Settings button in the Alerting section. If the connection is successful, the 1 Alert Sent. IMAP settings valid message is displayed.

On the Remote Ingester Node, verify if RIN is receiving logs using the following command:
tcpdump -i eth0 tcp port 514 -v -A
Sample response:
Configure the connection in SNYPR
Complete the following steps to configure Darktrace in the SNYPR application:
Step 1. Resource group information
-
In SNYPR, navigate to Menu > Add Data > Activity.
- Click Add Data > Add Data for Supported Device Type to setup the ingestion process.
-
Click Vendor in the Resource Type Information section and select the following information:
- Vendors: Darktrace
- Device Types: Darktrace
- Collection Method: syslog[LEEF]
- Select an ingester from the list.
-
Perform the following steps in the Ingesters section:
-
Select an ingester from the list.
-
Click + to add a filter for the ingester, and then provide the following information:
-
Provide a name for the filter.
-
Add the following syslog expression to identify events that are associated with the device:
{host("10.0.0.1");};
Note: The IP address is the address of the host initiating the traffic.
- Click Add to add the filter.
-
-
-
Complete the following information in the Device Information section:
- Datasource Name: Enter Darktrace.
- Specify timezone for activity logs: Select a time zone from the list.
-
Click Get Preview in the upper right corner of the page to preview the ingested data from the datasource.
- Click Save & Next.
Complete the following steps if you are using SNYPR 6.4:
-
Navigate to Menu > Add Data > Activity in the SNYPR application.
-
Click Discovered. The section displays a list of discovered devices by recommended parsers.
Note: You can locate a datasource/device by specifying CIDR or keyword in the Search field.
-
Review discovered devices to locate devices that you want to import.
-
Select a resource or any number of resources to view details on the right-section of the screen.
-
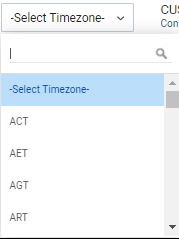
In the right section of the screen, select a resource and click Select Timezone. The Select Timezone drop-down list is displayed.

- Select a timezone.
-
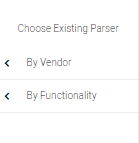
Review and select the existing parser, or you can search for another parser by performing the following steps:
-
Select By Vendor from Choose Existing Parser.

-
Click Vendors > Resource Types > Parser Name. The following image is just for reference:
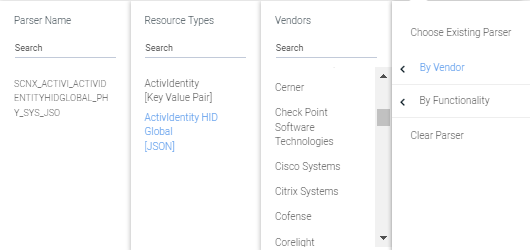
For Darktrace, select the following information:
- Vendors: Darktrace
- Resource Types: Darktrace
- Parser Name: CNX_DARKTR_DARKTRACE_ITD_SYS_LEE
-
-
Click Get Preview in the upper right corner of the page to preview the ingested data from the datasource.
- Click Save & Next.

Step 2. Parser management
Click Save & Next.
Note: For more information on Parser Management, refer to the SNYPR 6.4 Data Integration Guide.
Step 3. Identity attribution
-
Click Add Condition > Add New Correlation Rule to add a correlation rule.
-
Provide a descriptive name for the correlation rule in the Correlation Rule section.
Note: For more information on Identity Attribution, refer to the SNYPR 6.4 Data Integration Guide.
-
Specify the User Attribute, Operation, Parameter, Condition, and Separator parameters in the Correlate events to user using rule section.
-
Click Save in the lower-right corner of the page to save the Correlate events to user using rule table.
-
Click Save & Next in the upper-right corner of the page.
Step 4. Detect policy violations
Click Save & Next.
Step 5. Summary
-
Select Do you want to schedule this job for future? in the Job Scheduling Information section and select any of the following based on the collection method:
-
Run every 1 minutes for datasources with the collection method as syslog.
-
Run every 10 minutes for non-syslog based datasources.
-
-
Click Save & Run.
Verifying the job
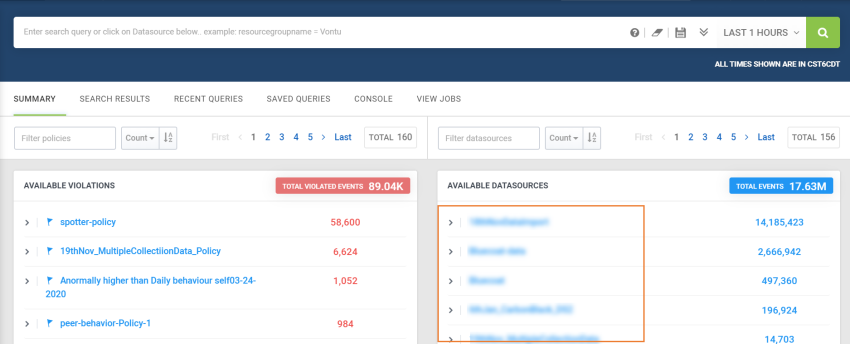
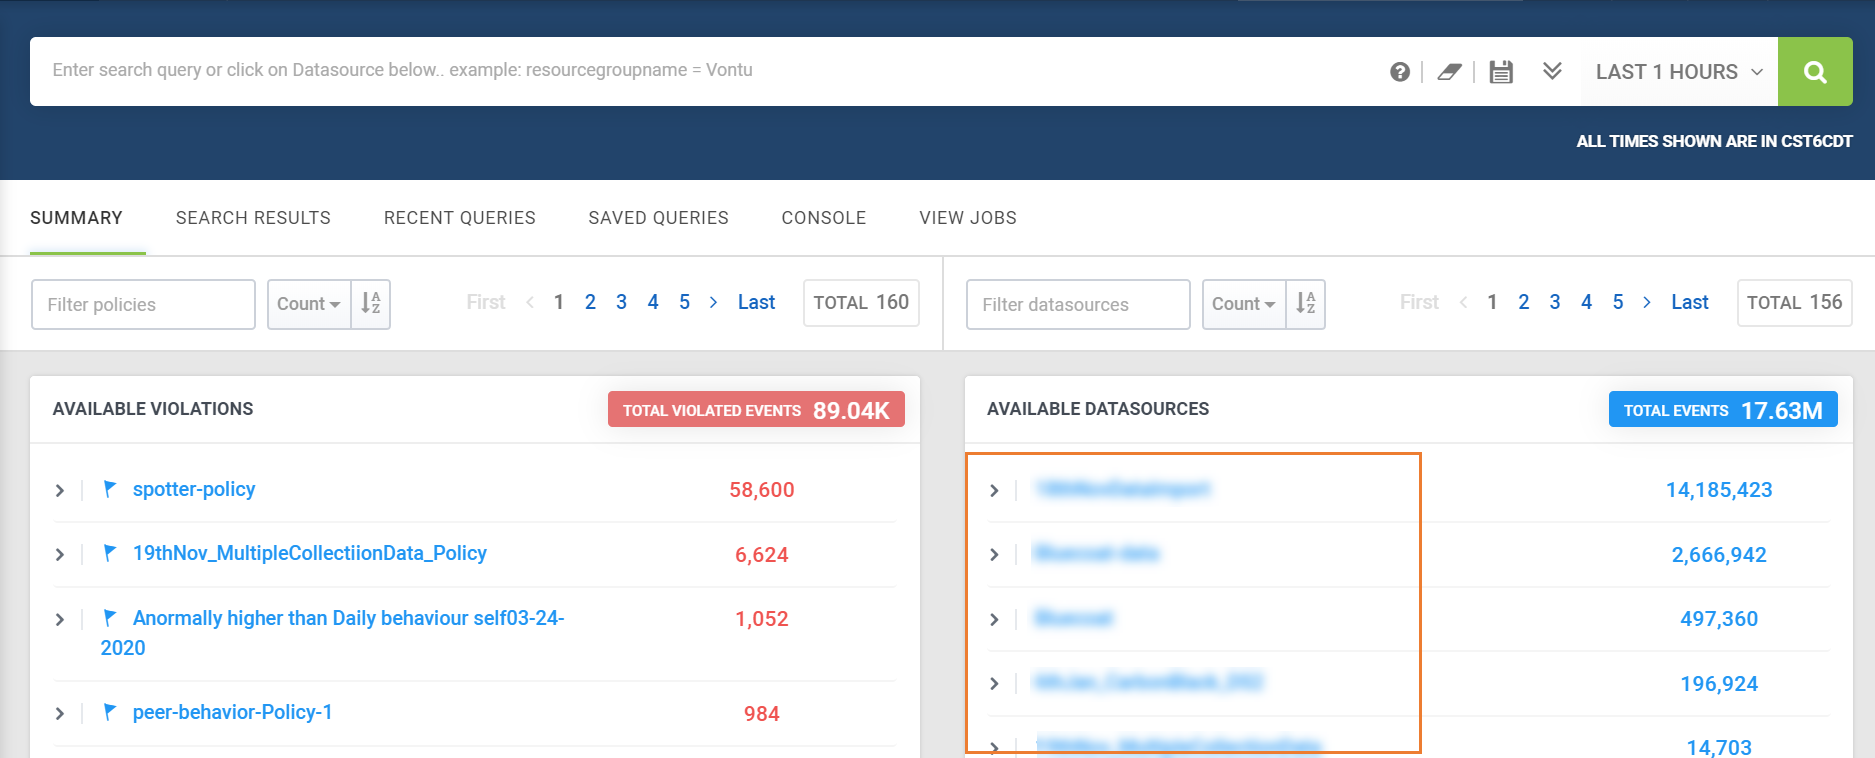
Following a successful import, the security log data for the datasource is accessible in the Available Datasources section of Spotter. To access the imported security log data, complete the following steps:
-
Navigate to Menu > Security Center > Spotter.
-
Enter the datasource name provided while creating the connection, and then click the magnifying glass icon in the search bar.
Note: Refer to the Spotter Query Reference Guide for information on how to write queries in Spotter.