Cisco Umbrella
Overview
Note: This beta connector guide is created by experienced users of the SNYPR platform and is currently going through verification processes within Securonix. This connector is made available to early adopters for the purposes of providing guidance and integration support prior to the release of official documentation.
Cisco Umbrella analyzes and learns from internet activity patterns. It automatically uncovers attacker infrastructure staged for current and emerging threats, which enables itself to proactively block requests to malicious destinations before a connection is even established or a malicious file is downloaded.
The following properties are specific to the Cisco Umbrella connector:
-
Collection Method: Ciscoumbrella (API)
-
API Version : V1
-
Format: JSON
-
Functionality: DNS / DHCP
-
Parser: SCNX_CISCO_CISCOUMBRELLA_DNS_CIS_JSO
-
Vendor Version: -
Prerequisites
Before you connect Cisco Umbrella, ensure you have the following information:
-
Organization ID
-
API Key
-
API Secret
References
Configure the connection on device
Complete the following steps to configure the Cisco Umbrella connection:
-
Log into Umbrella with the following URL: https://dashboard.umbrella.com/
-
Find your username after Admin in the navigation tree.
-
Confirm that your organization appears under your username.
Generating an API key
-
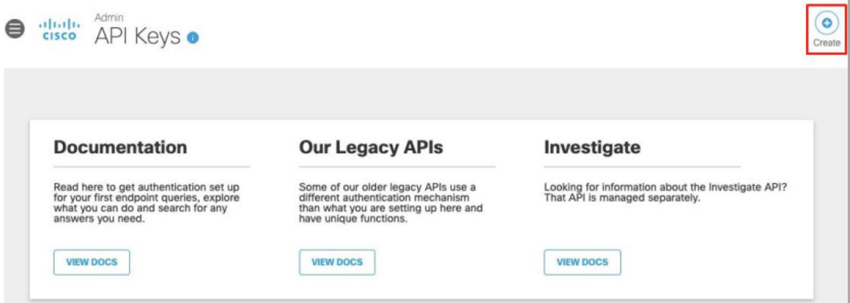
Navigate to Admin > API Keys.
-
Click Create.
Note: Alternatively, in a management console (Multi-org, MSP, or MSSP), navigate to Settings > API Keys and click Add.

-
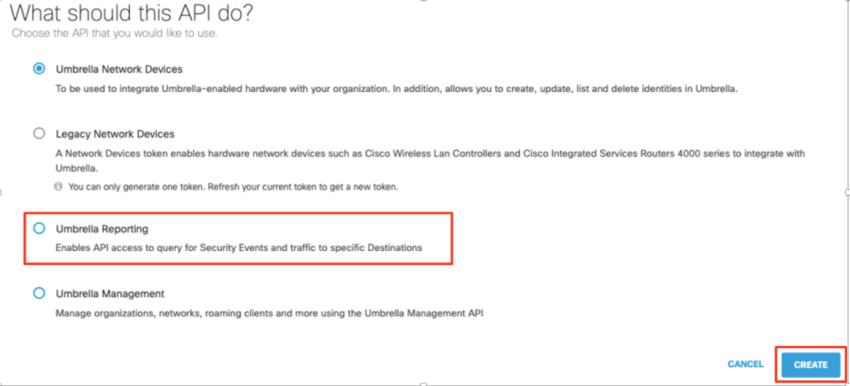
Select Umbrella Reporting.
-
Click Generate Token.
-
Expand Umbrella Reporting.
-
Copy Your Key and Your Secret.
-
Select To keep it secure.
-
Click Close.
Note: You must acknowledge that your key and secret are only displayed once to activate the Close button.

Generating a new key and secret
Click Refresh for your current key and secret. Alternatively, delete the existing key and secret, then create a new key and secret pair.
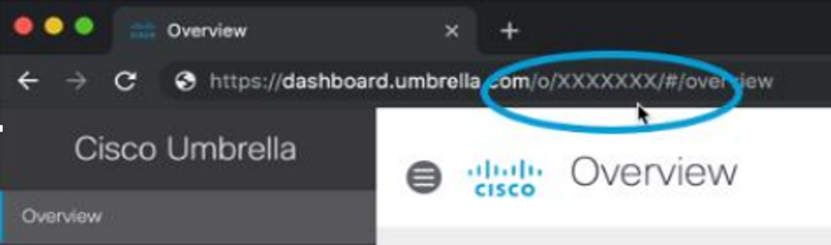
Obtaining an organization ID
You can obtain an organization ID directly from the Umbrella dashboard after you log in to that particular organization, as it will be in the URL of your browser: https://dashboard.umbrella.com/o/{organizationId}/#/overview
Important: You have only one opportunity to copy your secret. Umbrella does not save the Reporting v2 API secret and it cannot be retrieved after its initial creation.
Configure the connection in SNYPR
Complete the following steps to configure Cisco Umbrella in the SNYPR application:
Step 1. Resource group information
-
In SNYPR, navigate to Menu > Add Data > Activity.
- Click Add Data > Add Data for Supported Device Type to setup the ingestion process.
-
Click Vendor in the Resource Type Information section and select the following information:
- Vendors: Cisco Systems
- Device Type: Cisco Umbrella
- Collection Method: Ciscoumbrella (API)/JSON
-
Select an ingester from the list.
-
Provide the following Connection Details:
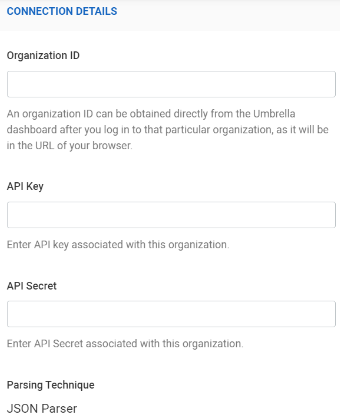
- Organization ID
- API Key
- API Secret
-
Complete the following information in the Device Information section:
-
Datasource Name: ciscoumbrella
-
Specify timezone for activity logs: Select a time zone from the list
-
-
Click Get Preview in the upper right corner of the page to preview the ingested data from the datasource.
- Click Save & Next.

Step 2. Parser management
Click Save & Next.
Note: For more information on Parser Management, refer to the SNYPR 6.4 Data Integration Guide.
Step 3. Identity attribution
-
Click Add Condition > Add New Correlation Rule to add a correlation rule.
-
Provide a descriptive name for the correlation rule in the Correlation Rule section.
Note: For more information on Identity Attribution, refer to the SNYPR 6.4 Data Integration Guide.
-
Specify the User Attribute, Operation, Parameter, Condition, and Separator parameters in the Correlate events to user using rule section.
-
Click Save in the lower-right corner of the page to save the Correlate events to user using rule table.
-
Click Save & Next in the upper-right corner of the page.
Step 4. Detect policy violations
Click Save & Next.
Step 5. Summary
-
Select Do you want to schedule this job for future? in the Job Scheduling Information section and select any of the following based on the collection method:
-
Run every 1 minutes for datasources with the collection method as syslog.
-
Run every 10 minutes for non-syslog based datasources.
-
-
Click Save & Run.
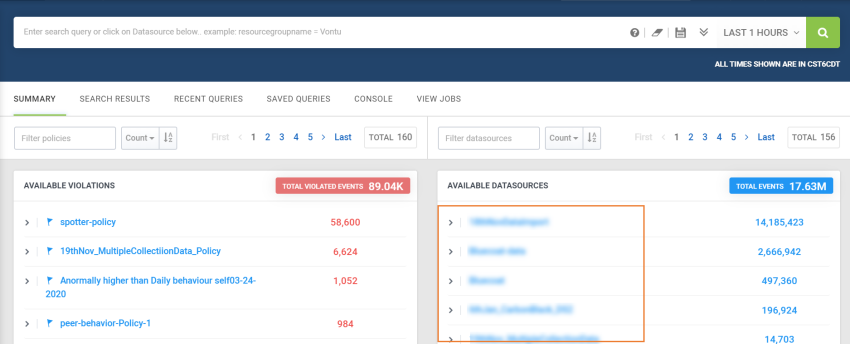
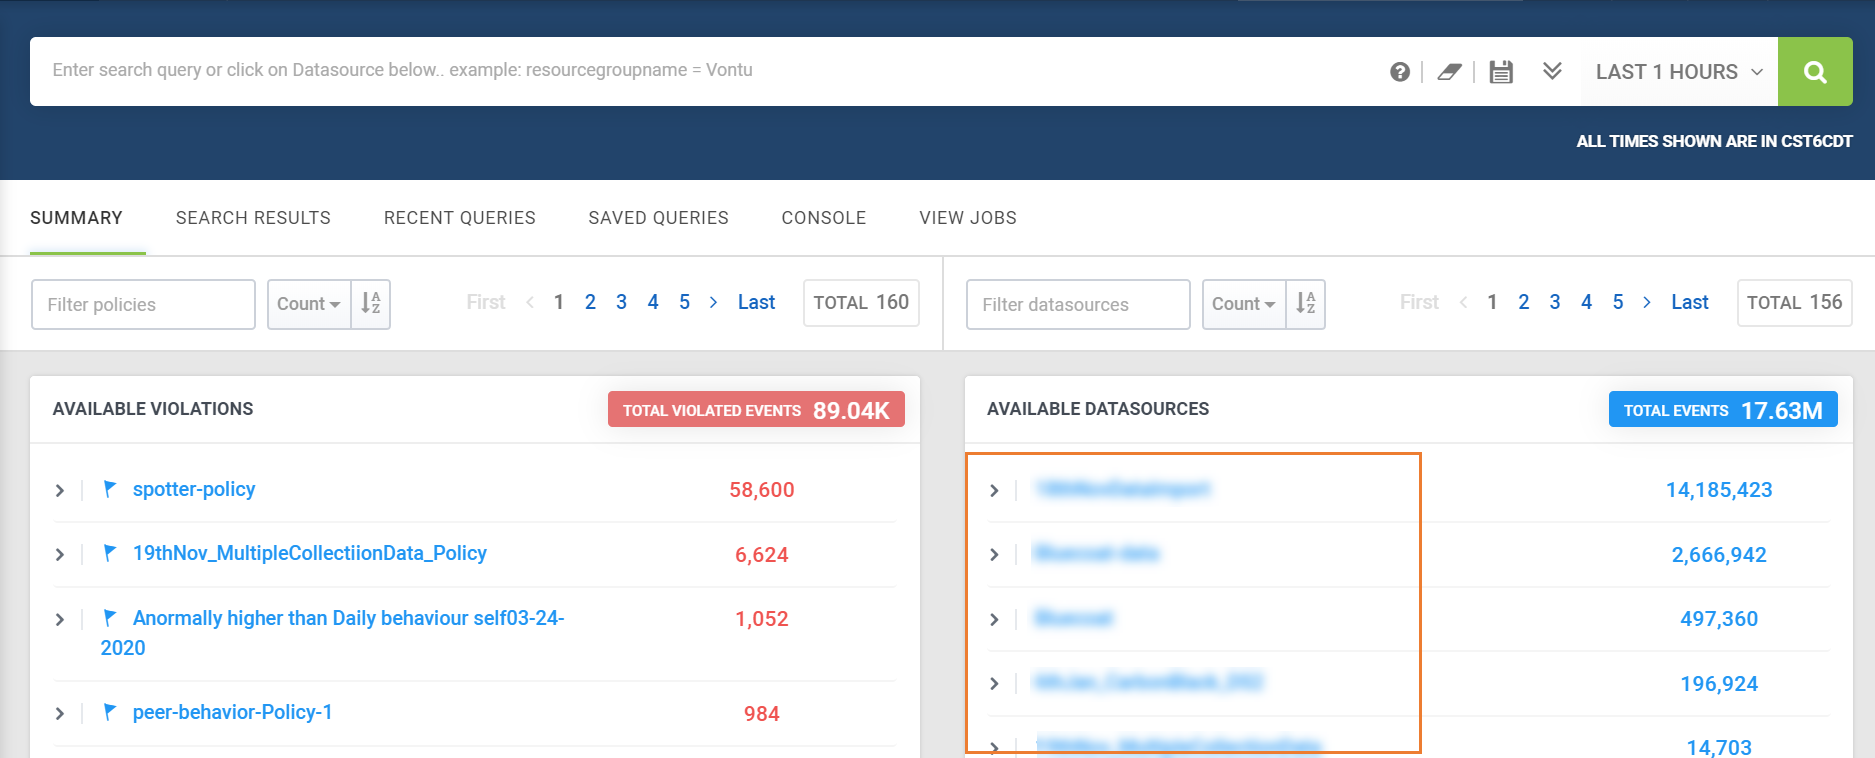
Verifying the job
Following a successful import, the security log data for the datasource is accessible in the Available Datasources section of Spotter. To access the imported security log data, complete the following steps:
-
Navigate to Menu > Security Center > Spotter.
-
Enter the datasource name provided while creating the connection, and then click the magnifying glass icon in the search bar.
Note: Refer to the Spotter Query Reference Guide for information on how to write queries in Spotter.